|
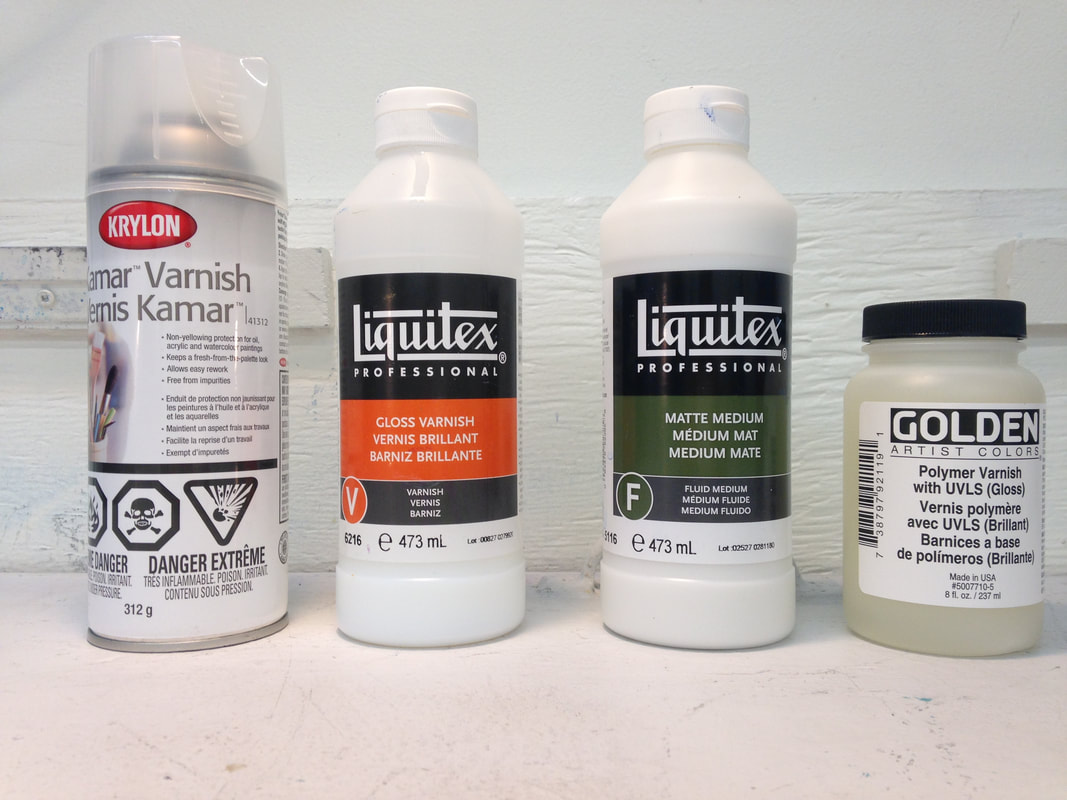
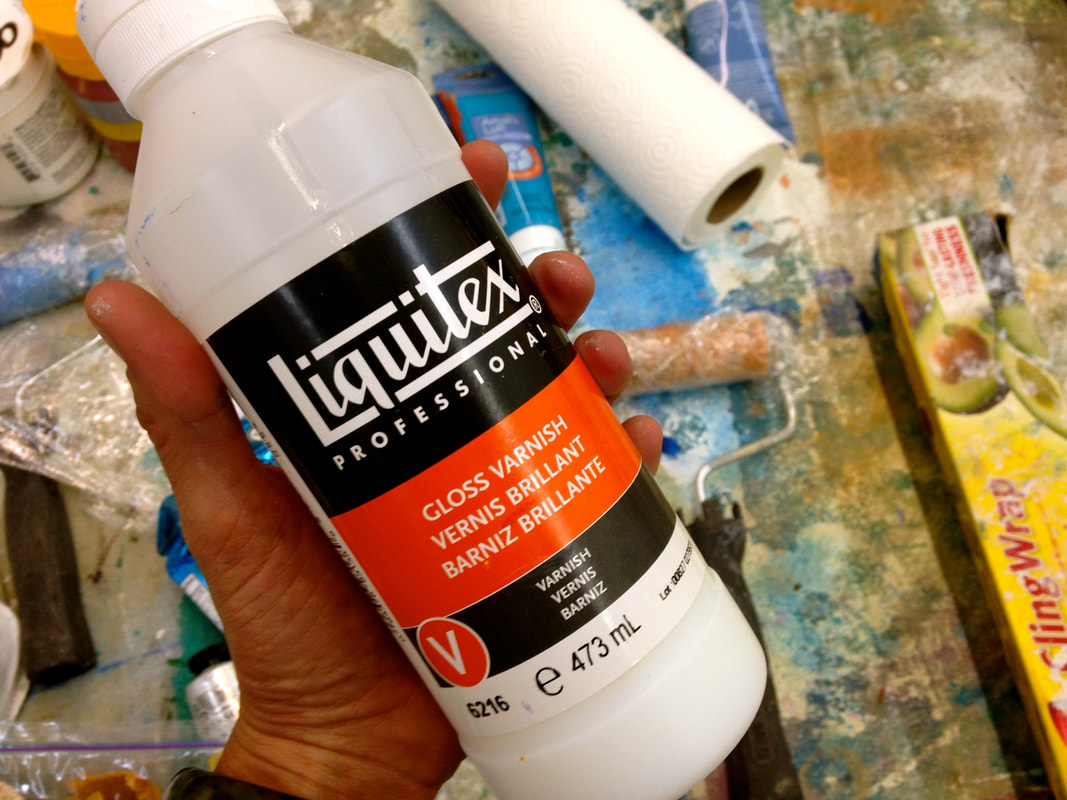
True to my “I refuse to read paint product labels” philosophy, my method for varnishing is quite unorthodox. It involves using varnish in ways that are not recommended by artists and paint companies. Still, I love my way of varnishing! It’s quick, easy and hassle free. So despite all of the contradictory advice out there, I am going to keep using varnish in my own way, and I hope you love it too. Acrylic Varnishing Benefits1. Makes colors “pop” 2. Unifies a painting by harmonizing sheens 3. Acts like a “save” button 4. Protects painting from UV rays, dust, smoke & dirty handprints 5. Achieves different finishes depending on the varnish you choose (Matte, Satin, or Gloss) Acrylic Varnishing Tips1. The first way I use my varnish in a way that is “not recommended by professionals” is that I varnish my paintings with a foam roller. This is absolutely horrifying for a lot of artists. They’ve been taught that the proper way to varnish (and to paint) is with a brush. Although it is true that to the unpracticed hand, varnishing with a roller creates bubbles and lines, with a little practice, the results are flawless and perfect every time. 2. The reason I prefer not to use a brush for varnishing is because I don’t use a brush for any other part of my painting process, so it makes no sense to pick up a roller at the varnishing stage. Besides, I don’t even own a brush! 3. The second way I varnish in an unorthodox way is that I use my varnish not just at the end of my painting, but I use it during my painting process as well. Most people are quite surprised when I tell them that you can paint over varnish. For whatever reason (reading the labels perhaps?), varnishing is thought of as a final layer you do not paint over. Nothing could be farther from the truth. I like to compare a varnish layer on your painting to hitting the “save” button on a word document. Everything underneath the varnish layer will be saved. Everything on top of that layer is not saved. This means that if I want to add a wash to my painting but I’m not sure it’s the right decision, all I have to do is apply a layer of varnish. This will “save” my painting. Once dry, I can proceed with confidence and add my wash without fear I might be "making a mistake". In other words, if my painting is varnished and I put on that wash and decide my painting looks better before the wash, all I have to do is spray my entire painting with water before it dries, and wipe it clean with a paper towel. Your painting probably won’t look 100% like the original, but it will be pretty close. I guess you could say that varnishing in between layers is a way of encouraging “fearlessness” even though you might not feel fearless at all. 4. The other reason for varnishing is that it makes my colors “pop” again. Because my process uses so much water (and as we know, water is a solvent to acrylic paint) some of my paint layers turn out looking dull and matte when dry. This is never a problem because once I varnish my painting, all of the colors will pop to their full brilliance again. 5. Varnishing a painting can be a great way to decide whether or not you are finished with a painting: it brings the painting together by harmonizing the sheens. 6. Yes, varnishes protect your painting from damaging UV rays, dust, smoke, yellowing and dirty handprints, but in my experience they can be used in an unorthodox way to produce incredible results. How to Varnish like a Pro1. Squeeze liquid varnish on the bottom left hand corner of your painting. Please note: Abstain from applying the varnish all over your canvas. Wherever the varnish hits the canvas, it makes an imprint there. 2. Use your roller to roll vertical stripes (from left to right) 3. Turn your canvas so that you can roll horizontally over the vertical stripes you just made. This ensures an even coat of varnish all over your painting. *Steps 2 & 3 happen very quickly. Be sure not to re-roll once you have completed the vertical/horizontal passes. This creates blotchiness and unevenness. 4. Allow drying 20 minutes (or more in humid environments) *Most paint companies and professionals advise 3 – 6 hours in between coats. I personally have never done this and never had a problem. 5. Apply another coat if needed. More Tips for Perfect Varnishing1. Allow your painting to dry completely before varnishing. This can take several hours to several days. Even when the painting feels dry to the touch, it does not necessarily mean that it is dry. Varnishing a painting while it is still wet can turn the painting cloudy because the water becomes trapped underneath the varnish. 2. Reserve a new, clean roller to use only for varnishing. I have found that even when rollers are washed “clean” of acrylic paint, some residue remains and when this roller is used as a varnish roller, the color ends up transfering onto the painting. 3. Rolling with liquid varnish works in most cases, but not all. Sometimes my paintings contain areas of metallic powders or salt that have not fully adhered to the canvas. Working with a liquid varnish in these circumstances is not advisable because by doing so, metallics/salt would transfer to the rest of my canvas. In these cases, I use spray varnish. 4. When using liquid varnish on highly textured paintings, work varnish into the peaks and valleys you created to ensure texture adhesion to the canvas. 5. Varnish your paintings flat on the floor/table. 6. If you are afraid to use a roller to varnish your paintings, use a spray varnish instead. Doing this will ensure that you have no bubbles or lines created by the roller. Always use your spray varnish outside. Spray a light coat of varnish on your painting (from left to right) and repeat with another light spray once dry. Top Photo (left to right): Kamar varnish is my favorite brand of spray varnish, Liquitex Gloss Varnish is my favorite brand of liquid varnish, Matte Medium by Liquitex is not a varnish & Golden Gloss Varnish is a varnish that needs to be diluted with water.
Hey Sam. Good to know. I have a painting that I finished a few years back and finished with spray varnish. I always wished that I had made my final wash darker but everyone told since I varnished the painting I could not add paint over top. After reading this I’m going to try it. I’ve added Matt medium between layers before as my “save” but not varnish. Thanks for the tips. From your 2010 Edmonton workshop....Buffalo Girl.
Samantha daSilva
1/21/2018 02:14:07 pm
Dear Bonnie (aka Buffalo Girl), It is so good to hear from you! I can't begin to tell you how happy I am that you found this article helpful. Lately, I have been feeling like... "Is anyone out there?!" lol Thanks again for you comment and for taking my workshop in the first place. Sincerely yours, Sam PS Please feel free to share your finished painting with me. I would love to add it to my Fearless Student Gallery!
Miriam
1/20/2018 10:15:45 am
GREAT tips !!!! Thank you!
Samantha daSilva
1/21/2018 02:16:21 pm
Thank you for your comment Miriam! I appreciate your support. XO
Paulette Chang
3/22/2018 10:59:50 am
Thanks for the continued tips and reminders. I forgot I could paint over varnish.
Madonna Murphy
10/20/2019 03:05:27 am
Thank you for your perspective! If I use a liquid varnish, how long do you recommend letting the final coat dry before framing? I am using the Golden Polymer gloss varnish and they recommend up to a week to let fully harden.
Krissy
11/2/2019 01:23:09 pm
Do you have any tips on varnishing alcohol inks on yupo paper and alcohol inks on ceramic tile? I am finding that there are no sprays even when I've called those manufacturers that they make a spray for alcohol ink!!! This is very frustrating cuz I need to Varnish the alcohol ink but when people use sprays on them they tend to run and this is after it's been dried for several days of course. Do you know anything besides resin that will help to Varnish and preserve alcohol inks on tile and yupo paper? Comments are closed.
|
This blog was created to share my belief that the art-making process is a catalyst for transformation and personal empowerment. I am living proof.
Categories
All
|

